IMPORTANT PRELIMINARIES: Before You Begin
Proper planning before assembly day is crucial for a smooth installation and to ensure compliance.
Local Regulations & Permits: This is the most critical first step. You MUST check with your local city or county planning department, and also consult any Homeowner's Association (HOA) rules BEFORE starting installation. While WorkPod sizes (80 sq ft, 102 sq ft, 105 sq ft) often fall below standard permit thresholds in many jurisdictions, regulations regarding Accessory Dwelling Units (ADUs), required setbacks from property lines, electrical hookups, and foundation types can vary significantly. Do not assume you don't need a permit. Oakhaven can provide standard building plans upon request to assist you in discussions with local authorities. Failure to comply can result in fines or removal orders.
DIY vs. Professional Assistance: The WorkPods are intentionally designed to be DIY-friendly for individuals with moderate tool proficiency and construction experience. However, due to the size and weight of components (wall panels, roof sections), having 2-3 people is strongly recommended for safety and ease of assembly. If you are uncomfortable with any aspect of the assembly process, particularly the electrical connection, hiring qualified local contractors (a general contractor for assembly, a licensed electrician for power) is the wisest course of action. Oakhaven may also offer assembly services in specific regions – please check availability with our team.
Review Your Specific Manual: This guide provides a general overview applicable to most WorkPod models. However, always prioritize and refer to the detailed assembly manual provided specifically for YOUR WorkPod model (e.g., Mini, Standard, Versatile, Solar). Components, hardware, and specific steps may have minor variations between models. Familiarize yourself with your manual thoroughly before starting.
Installation Steps Overview
Step 1: Site Selection & Preparation
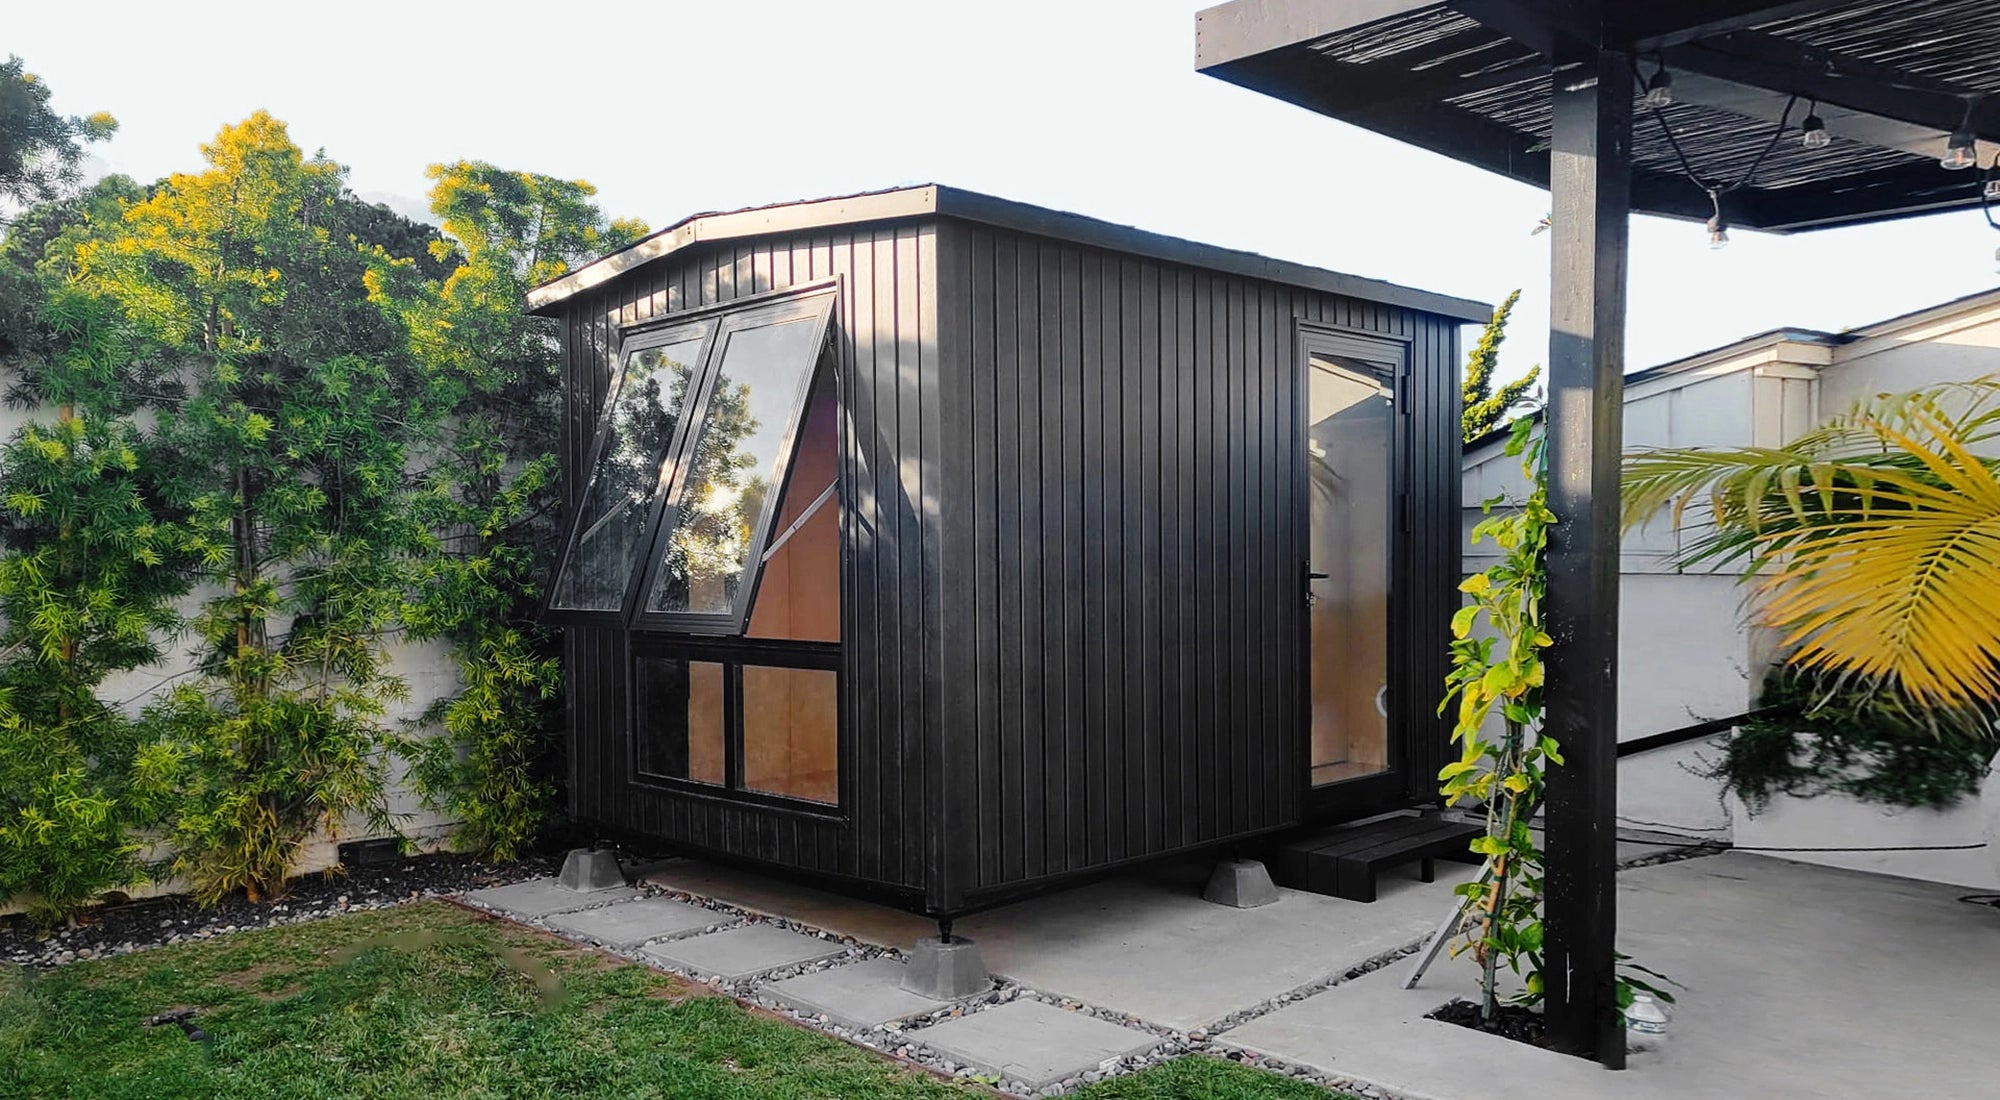
Location Choice: Carefully choose the optimal spot in your yard. Consider factors like daily sunlight exposure (crucial for Solar models, but can also lead to significant heat gain in others – user feedback notes it "gets pretty hot...after about 3pm," suggesting AC is often needed), desired level of privacy, potential views from the Pod ("great view of my backyard"), and importantly, the proximity to your home's main electrical panel for non-Solar models (shorter cable runs are simpler and often cheaper).
Ground Surface Suitability: The WorkPod features an integrated, adjustable foundation ("built-in foundation saved me money") designed for stable, relatively level surfaces. Suitable options include concrete pads, interlocking pavers, properly prepared gravel beds, or firm, level grass areas. Avoid locations prone to flooding, poor drainage, or significant ground settling.
Leveling is Critical: The installation site should be as level as possible before starting. While the adjustable foundation feet can typically compensate for slight unevenness (usually up to a 5° slope), attempting installation on a severely sloped site will be difficult and may require professional ground preparation (grading, retaining walls) beforehand. A level foundation is essential for proper door and window function and overall structural integrity.
Required Clearance: Ensure you have adequate working space around the planned Pod location. We recommend approximately 5 feet of clear access on all sides during the assembly process. Also, double-check and adhere strictly to your local setback regulations regarding minimum distances from property lines, fences, and other structures.
Step 2: Foundation Setup
Carefully lay out the adjustable foundation components according to the diagram in your specific model's manual.
Systematically adjust the height of each individual foundation foot using a wrench or appropriate tool. Use a reliable spirit level across multiple points of the foundation frame to ensure it is perfectly level in all directions. Do not rush this step; a perfectly level base is foundational to the entire structure.
Step 3: Assembling the Main Structure
(Follow your specific model's manual meticulously during this phase)
Floor Panel Installation: Carefully place and securely fasten the floor panels onto the leveled foundation frame according to the manual's instructions.
Wall Panel Erection: This is typically the most demanding part requiring helpers. Carefully lift the pre-fabricated wall panels into position, securing them to the floor frame and to each other using the provided hardware. Use a level frequently to ensure all wall panels are perfectly plumb (vertical) and that corners are square.
Roof Structure Assembly: Install the roof beams, trusses, or panels as specified in your manual. Ensure all connections are tight and secure before proceeding to exterior finishing.
Exterior Finishing & Weatherproofing: Apply the designated roofing materials (shingles or metal sheeting) and siding (vinyl or metal panels). Pay close attention to installing weatherproofing elements like house wrap or bitumen layers correctly to ensure a watertight seal.
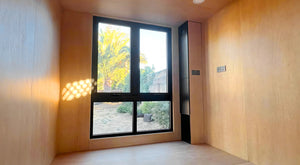
Door & Window Installation: Carefully lift and fit the pre-assembled door and window units into their designated rough openings. Secure them according to the instructions, checking frequently to ensure they operate smoothly (open, close, lock) and form a proper weather seal against the frame. Shimming may be required for a perfect fit.
Step 4: Electrical Connection
Standard/Versatile/Mini Pods: These models require a hardwired connection to your home's main electrical panel. A 66ft power cable is typically included for this purpose.
Unless you are a licensed and qualified electrician, .
WorkPod Solar:
Securely mount the solar panels onto the designated roof area or an appropriate nearby structure. Follow the specific instructions regarding optimal angle, positioning, and clearance for maximum sun exposure and performance.Component Connection:precisely. Ensure all connections are secure, correctly polarized, and weather-tight.
Connect the WorkPod Solar's grid input port to your home's power supply (following the same safety precautions as standard pods, potentially using a smaller circuit). This allows for backup power when solar generation is insufficient or for initial battery charging. The system is designed to automatically prioritize solar power when available.
Step 5: Interior Setup & Finishing Touches
If you purchased a Furnished Option, now is the time to assemble the included SmartDesk, ErgoChair, storage cabinets, etc., following their respective instructions.
Install any desired optional extras. Based on user feedback ("gets pretty hot"), installing a portable air conditioner is highly recommended for most climates. A small heater may be needed for colder regions. Ensure any appliance requiring venting is installed correctly according to manufacturer guidelines.
Thoroughly clean the interior and exterior of your newly assembled WorkPod.
Connect your computers, monitors, lamps, and other devices to the internal electrical outlets and Ethernet ports (if applicable).
Step 6: Final Checks & Verification
Perform a final walk-around, double-checking that all structural connections (bolts, screws) are secure and tightened appropriately.
Test all electrical components: plug a device into each outlet, switch lights on and off, test ventilator fans. For Solar models, check the inverter/battery display for system status.
Ensure the main door and windows open, close, latch, and lock smoothly without binding.
Visually inspect all exterior seals (roof edges, window/door frames, panel joints) to ensure effective weatherproofing. Address any potential gaps immediately.
Enjoy Your Oakhaven WorkPod Sanctuary!
Setting up your WorkPod is undoubtedly a significant but rewarding project ("I'm really happy with my WorkPod"). Approach the process methodically, prioritize safety above all else (especially concerning leveling and electrical work), diligently follow the specific manual for your model, and never hesitate to seek qualified professional help if you encounter difficulties or feel uncomfortable with any step. Once complete, you'll possess a durable, stylish, and highly functional dedicated space ("sturdy, clean & quiet," "well built") ready to dramatically enhance your focus, boost your productivity, and contribute positively to your overall modern lifestyle and work-life balance. Should you encounter any unexpected issues during assembly, remember that Oakhaven customer support and potentially our network of contractors (where available) are valuable resources available to assist you.


 Overview


